This section describes how to get started with i2b2 Wizard. Please make sure you have followed the previous sections closely.
Installing OpenSSH
Note: This is only applicable for Ubuntu Linux. It's similar for other distributions.
Start your new Ubuntu Linux and log in.
Open a terminal. Click on the top icon on the left and search for Terminal. In the terminal, type in the following commands:
sudo -s (and provide your password)
passwd root (assign a password for user 'root')
apt-get update
apt-get upgrade
apt-get install openssh-server
These update the Linux system and install the OpenSSH server, which allows you to copy the i2b2 Wizard installation files to the machine and to work remotely.
You can check if SSH is running:
netstat -tulpen
should print a list with an entry like
tcp 0 0.0.0.0:22 0.0.0.0:* LISTEN 0 11111 911/sshd
You may need to enable root ssh access as described here: http://askubuntu.com/questions/469143/how-to-enable-ssh-root-access-on-ubuntu-14-04
Then reboot the virtual machine by typing:
reboot
Copying the i2b2 Wizard files to the VM
First, rename the i2b2 Wizard directory so that it does not contain spaces, e.g. to "i2b2wizard".
Then copy the directory with SFTP to the Linux machine into the /root directory. On Windows, you can use WinSCP (http://winscp.net), on a Mac the program Cyberduck (http://www.cyberduck.ch) or the excellent MacFusion (http://www.macfusionapp.org).
To connect to your virtual machine, use the "Host-Only-Adapter". The "Host-Only-Adapter" is the interface with the 192.168.56.XXX-IP. You can use the command ifconfig to find out the IP.
If the connection does not work, you may need to edit /etc/network/interfaces to look like:
# interfaces(5) file used by ifup(8) and ifdown(8)
auto lo
iface lo inet loopback
auto eth0
iface eth0 inet dhcp
auto eth1
iface eth1 inet static
address 192.168.56.101
netmask 255.255.255.0
From now on, it is highly recommended to not continue working in the VirtualBox window (because it's slow). Better connect remotely to the VM via SSH, e.g. with putty on Windows systems. Don't forget to copy the i2b2 source file to ./packages as explained in 220. Preparing the installation.
Preparing the i2b2 Wizard
The first time you want to start the i2b2 Wizard, you might need to perform some preparations. Execute the following commands inside the i2b2 Wizard directory:
sudo -s
apt-get -y install dos2unix
chmod +x wizard.sh
find . -name "*.sh" -type f -exec dos2unix {} \;
Now it is highly recommended to create a "snapshot" of your VirtualBox virtual machine before running the i2b2 Wizard. If something goes wrong, you can easily revert to a "clean" machine.
Launching i2b2 Wizard
Launch the i2b2 Wizard by executing
sudo -s
./wizard.sh
Note: executing sudo ./wizard.sh will not work!
If everything is OK, you will be greeted by i2b2 Wizard after a few seconds (it will probably install the required tool "dialog" first) and asked to select your configuration (see below).
Setting the configuration (i2b2 Version, database type)
You may encounter the following message:
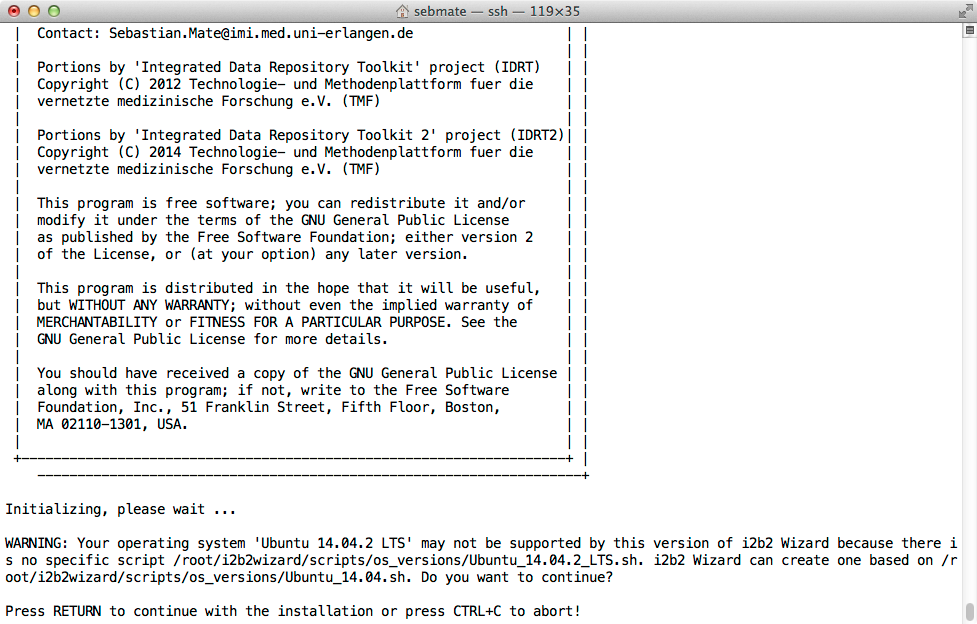
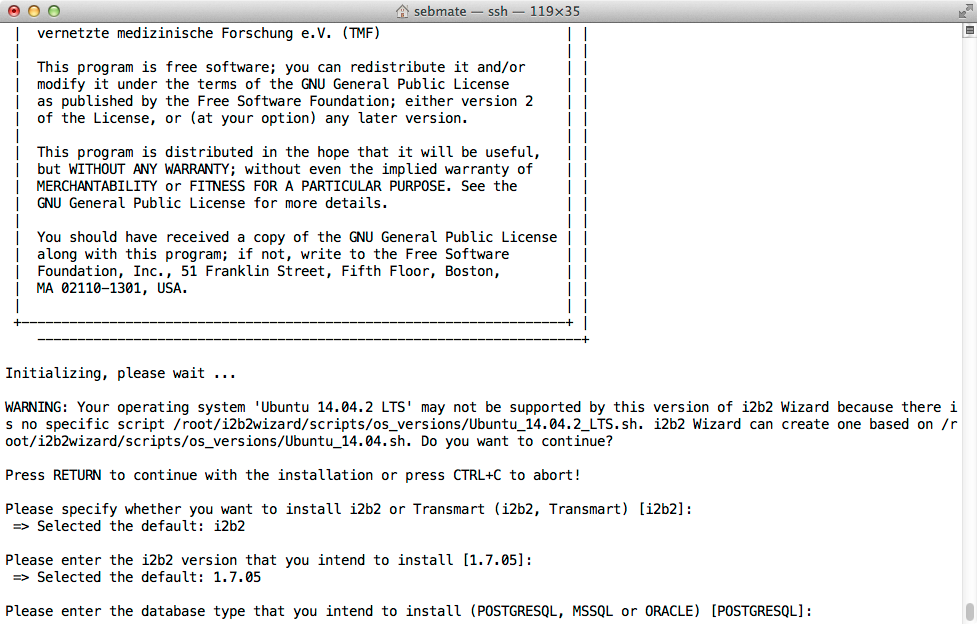
Just hit RETURN. For the next questions, just hit RETURN as well. Or if you want to install a different database or i2b2 version, type in the corresponding values (note: it's case-sensitive). But for now, it is highly recommended to stick to the defaults.
After a disclaimer screen, you will be presented with the default parameters screen:
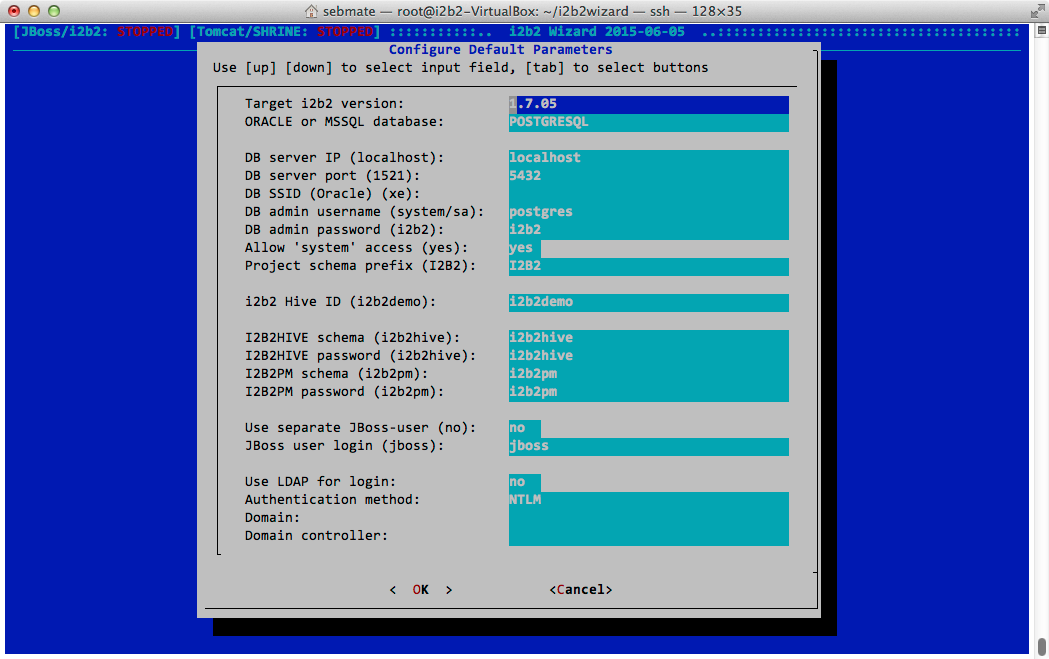
Again, just hit ENTER - and welcome to the main menu!

Preparing the i2b2 hive (= server)
To download and to install the required server software, select System Setup => Install Required Packages. This will take a considerable amount of time depending on your internet connection speed. Please note that if you have selected to use a Oracle database and i2b2 Wizard has not been reconfigured to connect to Oracle database outside "localhost", i2b2 Wizard will attempt to install Oracle XE. In this case, the Oracle software license is accepted automatically by i2b2 Wizard.
A window may pop up and ask you which network interface is used to communicate with the i2b2 Workbenches:
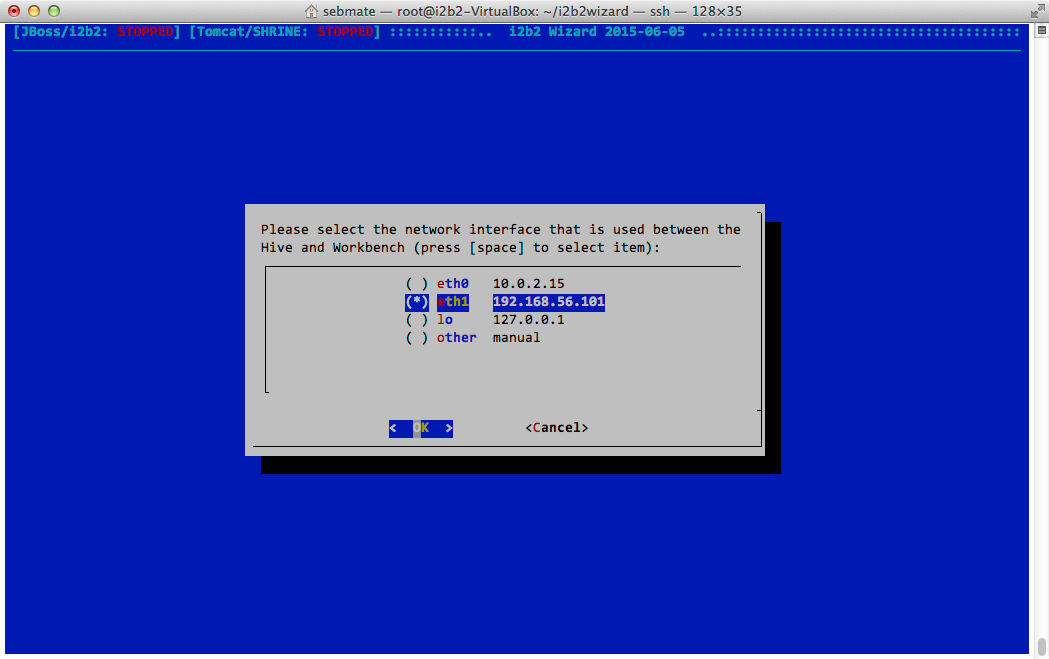
Select the interface with the 192.168.56.***-IP by pressing the space bar. This is the "Host-Only-Adapter" if you are using VirtualBox.
After all software components have been installed, go to the Menu (Main Menu =>) System Setup => Hive Tasks and select Load I2B2PM and I2B2HIVE.
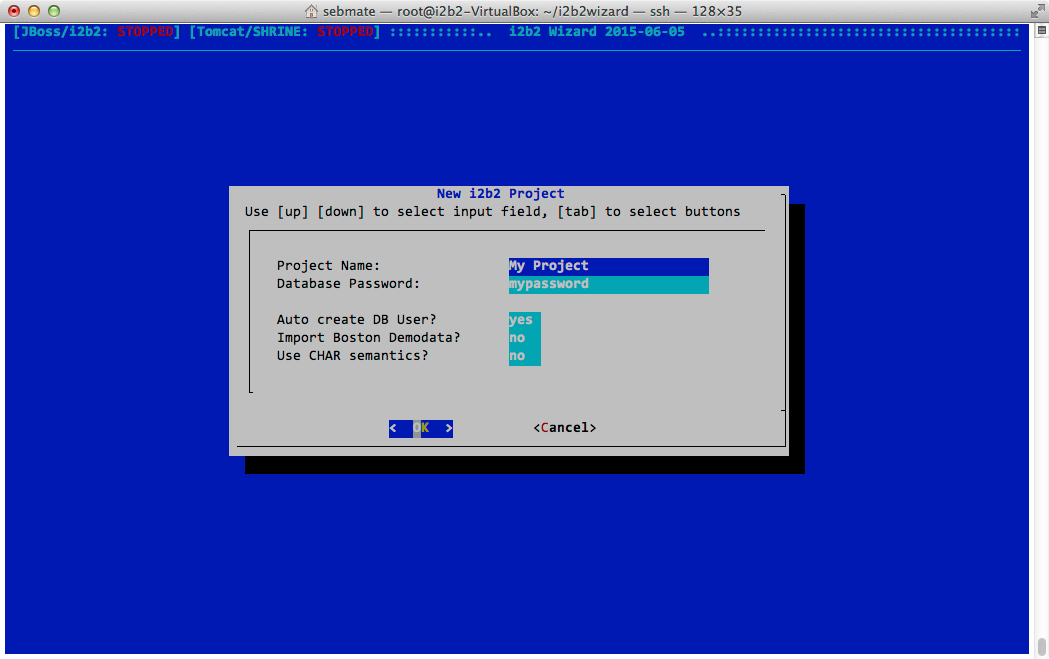
Creating an i2b2 project and user
To create an i2b2 project, go to Projects & Users and select Create i2b2 Project. Enter your desired parameters as shown in the following screenshot:
Now you need to create an i2b2 user. From the main menu, select Projects & Users => Create i2b2 User. Enter your desired parameters as shown in the following screenshot:

This creates an i2b2 user. Please note that the default password is "demouser". Due to an i2b2 bug (or difference) in the MD5 password calculation algorithm in i2b2, the password cannot be changed here. It can later be changed in the admin console (http://localhost/admin). It is also recommended to use LDAP authentication, which circumvents this problem.
The next step is to assign the user to the project. From the main menu, select Projects & Users => Assign User as shown in this screenshot:
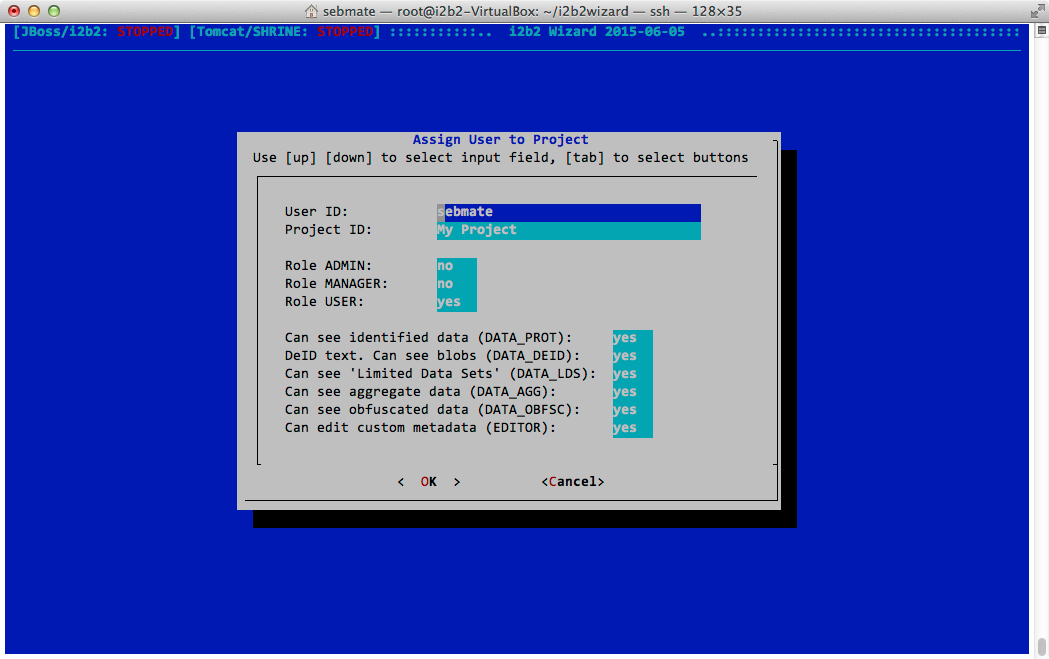
For all the roles and permissions please refer to the official i2b2 documentation (https://www.i2b2.org/software/, click on "i2b2 Source" and download the file i2b2core-doc-XXXX.zip).
Starting the i2b2 server
Launch JBoss by selecting JBoss Control => Start JBoss from the main menu. This automatically deploys the i2b2 source code and configuration.
If you want to start JBoss automatically upon system startup, you could have a look at https://developer.jboss.org/wiki/StartJBossOnBootWithLinux. Please note that providing detailed instructions is out of the scope of this document and the procedure is different for various operating systems.
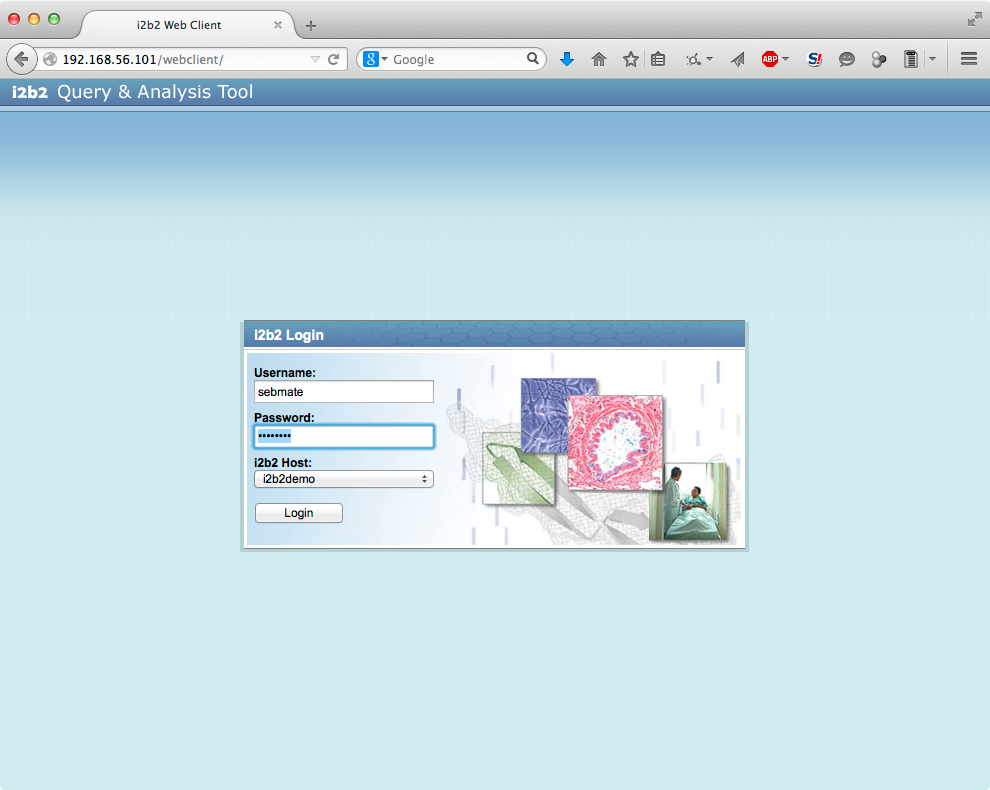
Logging into i2b2
You can now log into your new project. To access it via the i2b2 Web Client, open http://localhost/Web Client in your browser (replace "localhost" with the IP if you want to access it from a different machine).
Note that this project contains no data (including no i2b2 ontology) and therefore throws errors if you want to use it. To upload data, you can use the IDRT tools.
Loading the Boston Demodata
If you want to load the Boston Demodata as well, select Boston Demodata => Load Boston Demodata from the main menu. This creates the project as well as the two i2b2 users "i2b2" and "demo". Their passwords are "demouser".
Please note that loading the Demodata will take very long - about 30 minutes. It is OK if error messages appear after the import (because there are/were errors in the Demodata SQL files).