Page History
| Section | ||||||||||||||||||||||||||||||||||||||||||||
|---|---|---|---|---|---|---|---|---|---|---|---|---|---|---|---|---|---|---|---|---|---|---|---|---|---|---|---|---|---|---|---|---|---|---|---|---|---|---|---|---|---|---|---|---|
Update Database Lookup tablesThe Each i2b2 cell has a DB_LOOKUP tables all the cells to find the right database table that is part of the i2b2 hive. An i2b2 cell looks to its corresponding DB_LOOKUP table to find the database or schema for a particular project. As of i2b2 release These tables were created when you installed the hivedata tables as part of the i2b2 classic installation. In the 1.7.07 release of the i2b2 software, we introduced the ability to easily manage your DB_LOOKUP tables can be added, edited and removed from within the i2b2 Admin Module. The following steps shown below will walk you through the process of adding a new CRC_DB_LOOKUP and , ONT_DB_LOOKUP for your OMOP , and WORK_DB_LOOKUP to point to your CDM database schema and OMOP project.omop project. Assumptions:
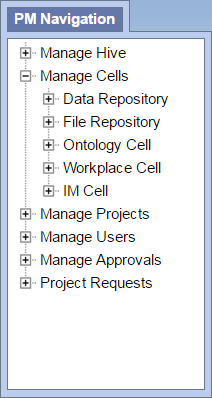
Instructions: CRC_DB_LOOKUP1. Log into your i2b2 Admin Module 2. In the PM Navigation tree panel on the left, expand Manage Cells to display a list of your i2b2 cells currently configured.
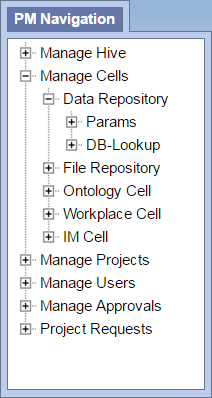
3. Expand the entry for your Data Repository and you will see an item listed called DB-Lookup listed.
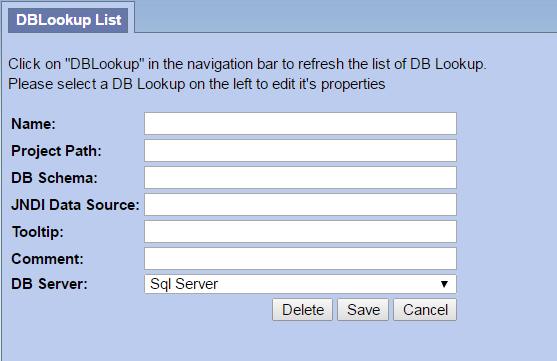
4. Select Click on DB-Lookup in and the Navigation panel to display the DB-Lookup List page will display on the right. 5. On the right side of the page, In the DB-Lookup List page click on Add New DB-Lookup. 6. The DB-Lookup enter / edit page will display.
7. Add the following information:
8. Click on Save to file the changes to the CRC_DB_LOOKUP table.
Instructions: ONT_DB_LOOKUPThe steps to update the ONT_DB_LOOKUP table are, for the most part the same as the CRC_DB_LOOKUP table. The only notable exceptions are: (1) Expand the Ontology Cell instead of the Data Repository Cell (2) The Project Path does not contain a leading forward slash
Instructions: WORK_DB_LOOKUPThe steps to update the WORK_DB_LOOKUP table are, for the most part the same as the CRC_DB_LOOKUP table. The only notable exceptions are: (1) Expand the Workplace Cell instead of the Data Repository Cell (2) The Project Path does not contain a leading forward slash
|