Page History
...
- Select File from the toolbar in Eclipse.
- A drop-down menu will display.
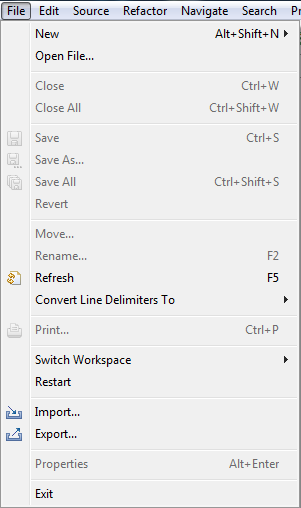
- Select Import.
- The Import wizard will open to the Select page.
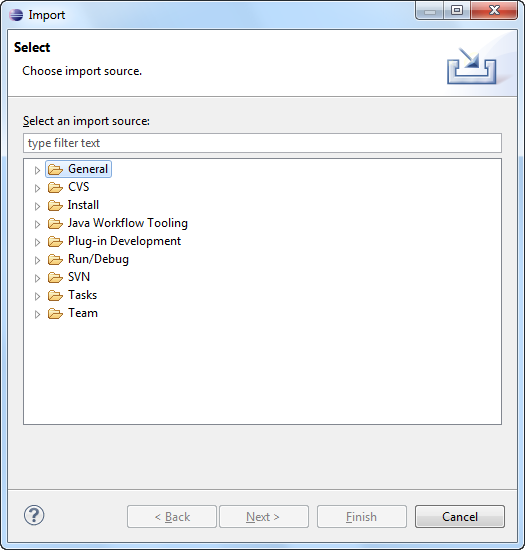
- Double click on the folder called General.
- Click on Existing Projects into Workspace.
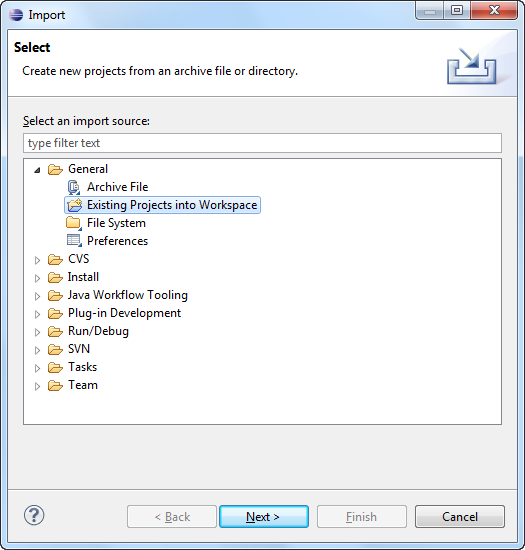
- Click on the Next button.
- The Import Projects page of the import wizard will open.
- Click on the radial dial next to Select archive file.
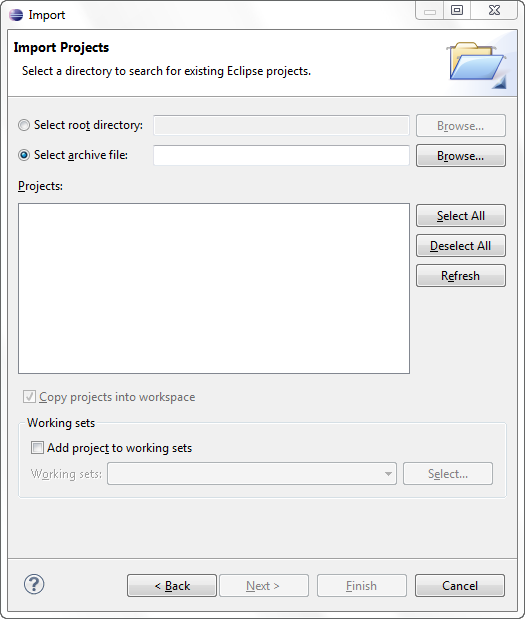
- Enter the path of the CRC Tester archive file or browse for the location where you downloaded the i2b2crctester-src-xxx.zip file.
- Highlight the zip file by clicking on its name.
- Click on the Open button.
- All the projects in the zip file will now be listed in the Projects section of the Import Projects page.
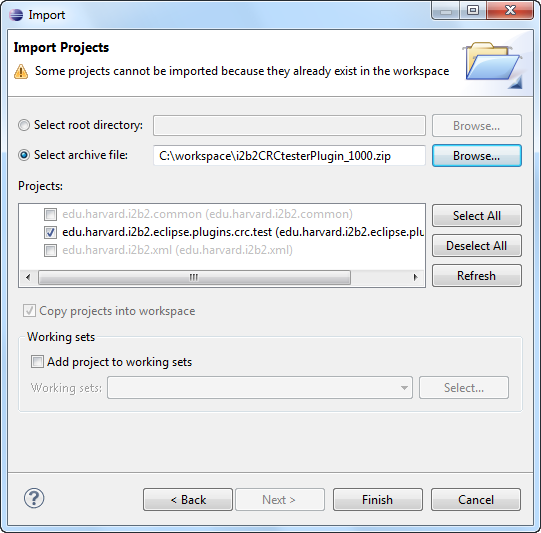
- Verify all the projects are checked off.
Note If you have already imported your i2b2 Workbench projects then you will most likely have the following two projects already setup in your Eclipse workbench:
- edu.harvard.i2b2.common
- edu.harvard.i2b2.xml
These two files are shared with the i2b2 Workbench and do not need to be imported again.
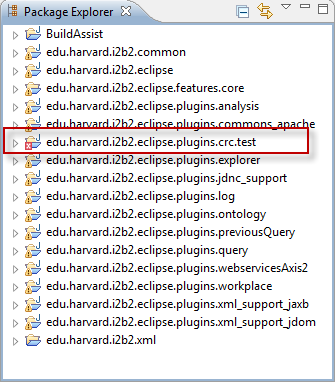
You only need to import the project edu.harvard.i2b2.eclipse.plugins.crc.test.
They will appear in the list but you will not be able to select them unless you remove or rename the existing two projects. At this time we recommend keeping the common and xml projects you imported with your i2b2 Workbench.
If for some reason you have not already imported these projects then you can import all three projects. - Click on the Finish button.
- Once the projects have finished importing they will appear in your Eclipse workbench.