Page History
...
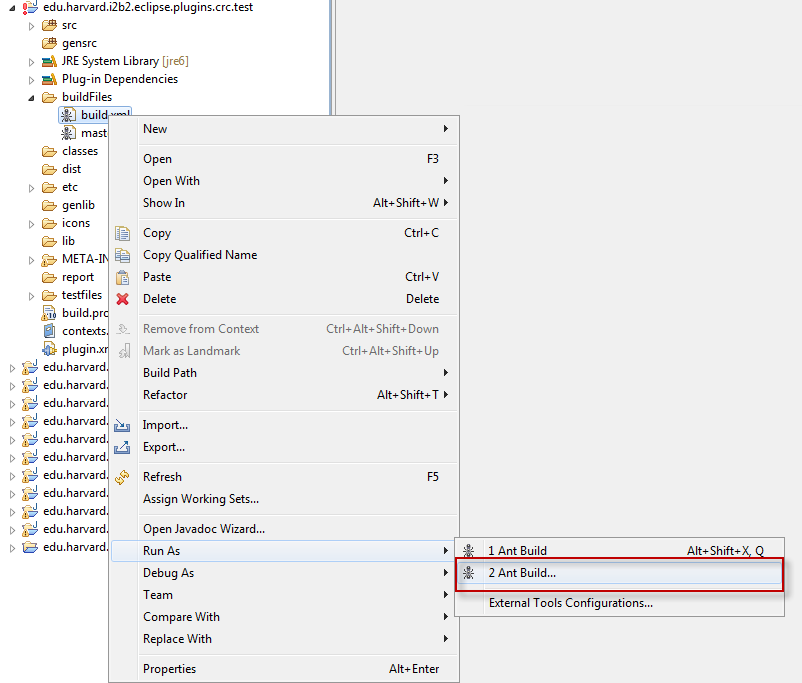
- Double click on the edu.harvard.i2b2.eclipse.plugins.crc.test project to open it.
- Double click on the buildFiles folder to open it.
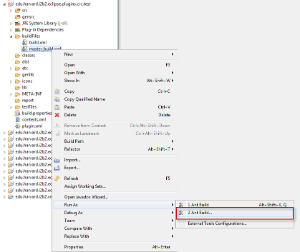
- Using the right mouse button, click on the build.xml file.
- A pop-up menu will display with a list of options.
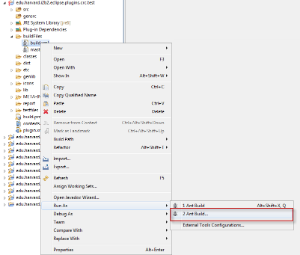
- Using your mouse, hover over Run As to display a sub-menu.
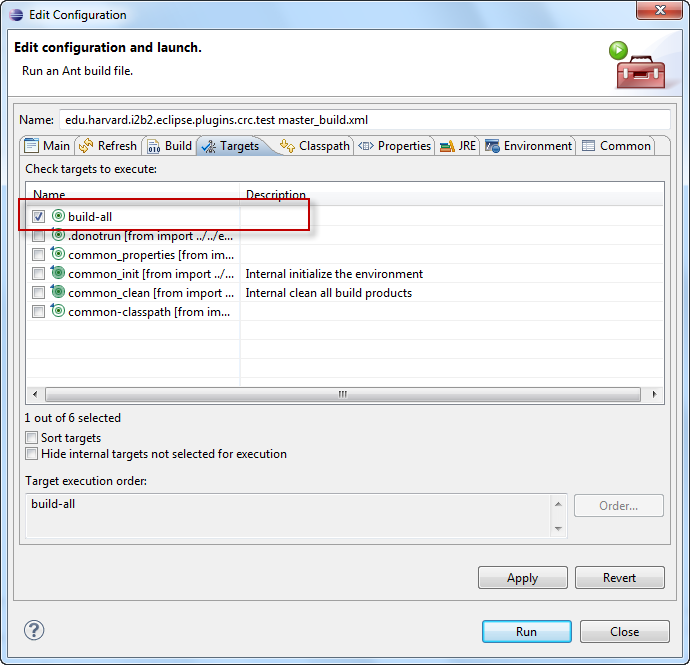
- The build Configuration dialog box will open.

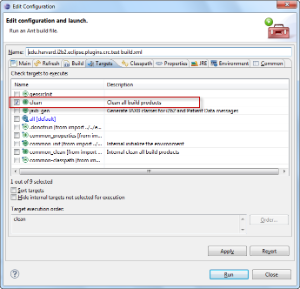
- Verify only clean-all is checked.
- Click on the Run button to execute.
- Once the process has finished you should see BUILD SUCCESSFUL in the console view.
...
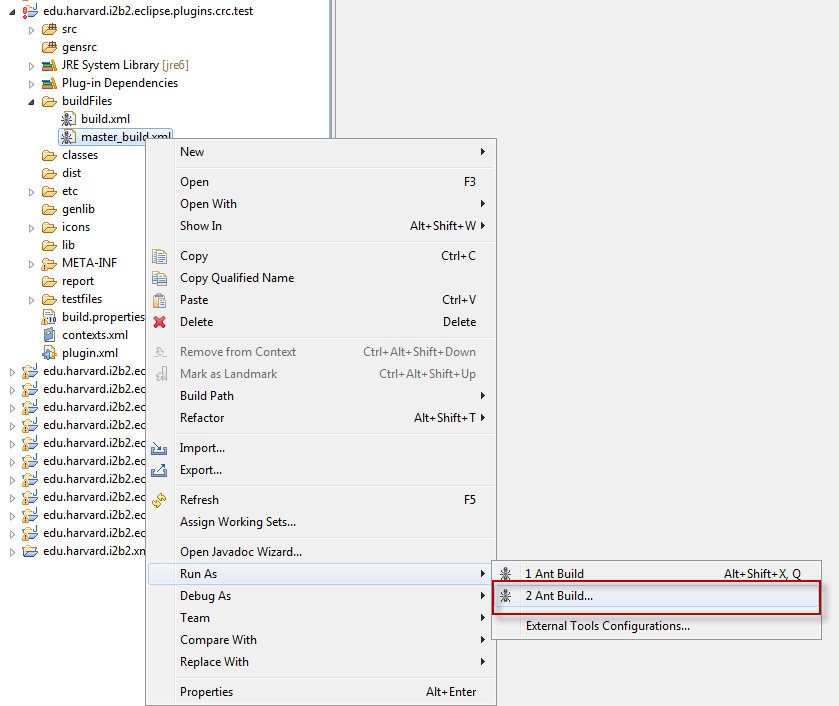
- Double click on the edu.harvard.i2b2.eclipse.plugins.crc.test project to open it.
- Double click on the buildFiles folder to open it.
- Using the right mouse button, click on the master_build.xml file.
- A pop-up menu will display with a list of options.
- Using your mouse, hover over Run As to display a sub-menu.
- The build Configuration dialog box will open.
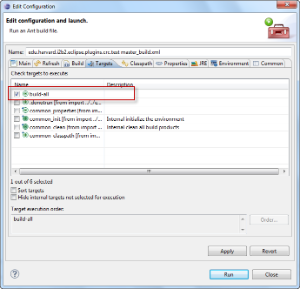
- Verify only build-all is checked.
- Click on the Run button to execute.
- Once the process has finished you should see BUILD SUCCESSFUL in the console view.
...
- Select the edu.harvard.i2b2.eclipse.plugins.crc.test project
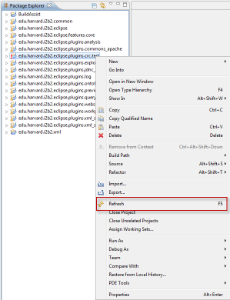
- Using the right mouse button, click on the project name.
- A pop-up menu will display.
- Select Refresh.

- A window will open showing the status of the refresh process.
- Once the refresh has finished the status window will close.
Info Eclipse will automatically build your workbench once the refresh has finished.