Folders
Users can expand or collapse a folder by clicking on the plus sign or negative sign next to the folder icon.
Expand (Open) a Folder
Click on the plus sign () next to the folder in the Workplace view.
The folder will open and all the items in the folder will display.

Collapse (Close) a Folder
Click on the negative sign () next to the folder in the Workplace view.
The folder will close and all the items in the folder will display.
Add a Workplace Folder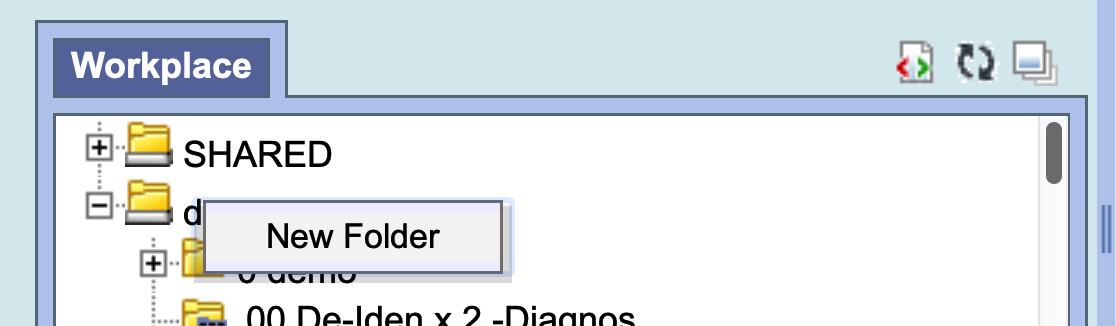 Using the right mouse button, click on your user folder in the Workplace view.
A pop-up menu will open.
Select New Folder.
A new window will open
In the text box enter the name you want to be displayed.
Click on the OK button.
The new folder will appear in the Workplace view.
Rename a Folder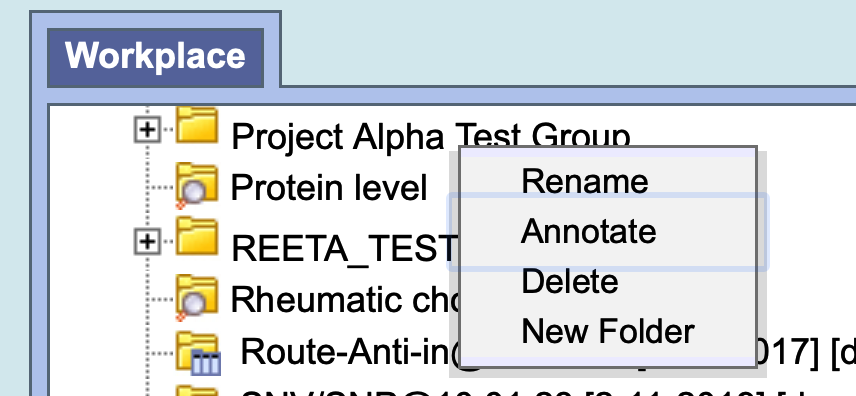
Users can easily rename an existing folder.
- Using the right mouse button, click on the folder you want to rename.
- A pop-up menu will open.
Annotate a Folder
Users can change the default annotation for any of their folders in the Workplace view. The annotation is what is displayed in the tool tip.
Delete a Folder
Users can remove a folder from the Workplace view. WARNING: All items in the folder will be deleted when the folder is removed. It is recommended that you move those items you want to keep to another folder.
Items
Rename Items
Users can easily rename an item in the Workplace view
Annotate Items
Users can change the default annotation for any of the items in their Workplace folder
Delete Items
Users can remove items from the Workplace view
Adding Items to Workplace View
This section describes how to add items to the Workplace vie
Items Draggable to Workplace
Items can be dragged and dropped (copied) into the Workplace view from other views in the i2b2 Web Client.
Folder: A folder and all its concepts (children) can be added to Workplace by dragging the folder name from one of the following views.
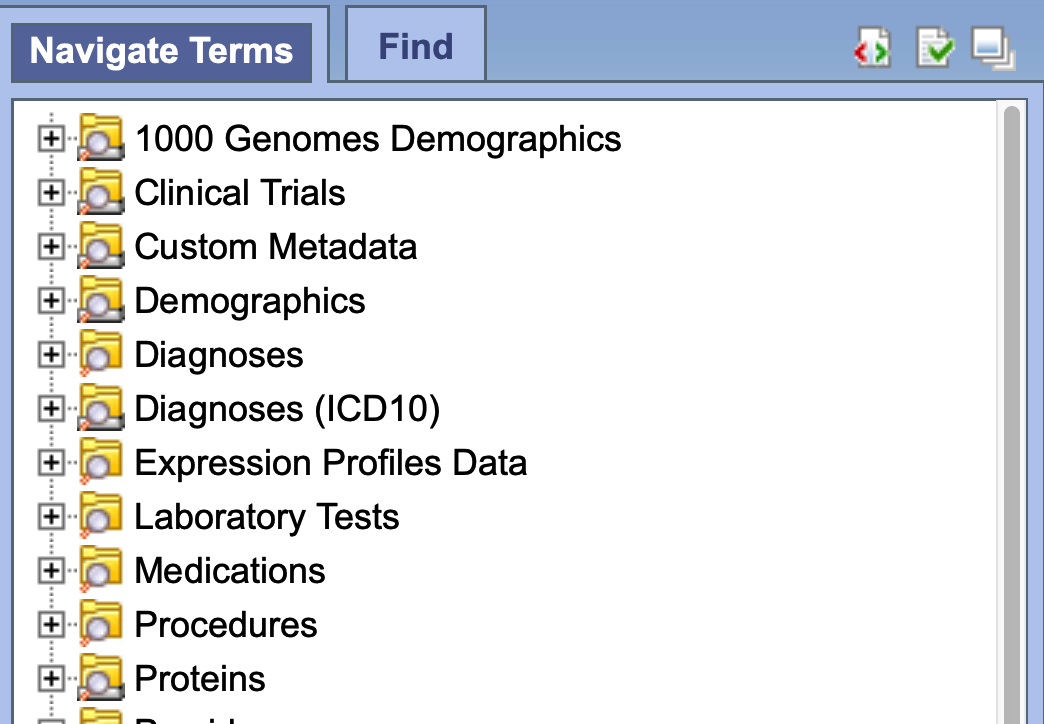
- Find Terms view
- Navigate Terms view
Modifier Folder: A modifier folder and all its modifiers (children) can be added to Workplaceby dragging the folder name from one of the following views:
- Find Terms view
- Navigate Terms view
Some additional items that can be dropped into the Workplace are listed below and are defined in the Basic i2b2 Terminology section.
Concept
Modifier
Patient Set
Encounter Set
Previous Query
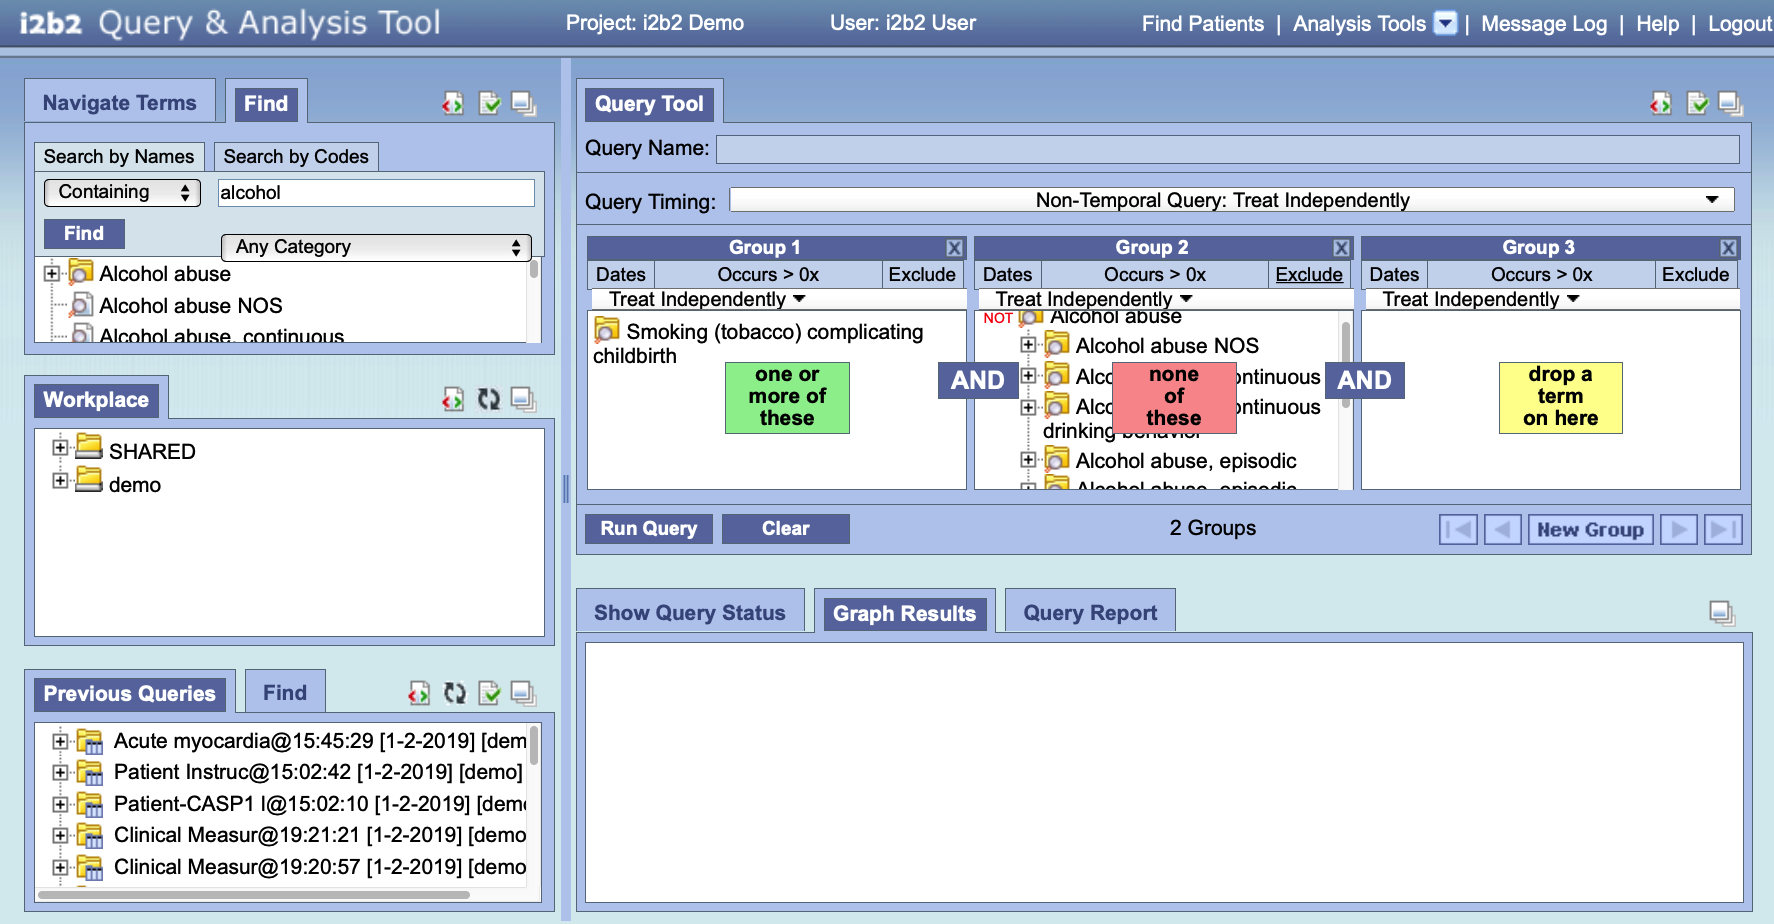
Options for panels
Show options for navigating terms 
Resize workspace 
Maximum wait for XML return 
Refresh Workplace and Previous Queries 
Adjust panel widths
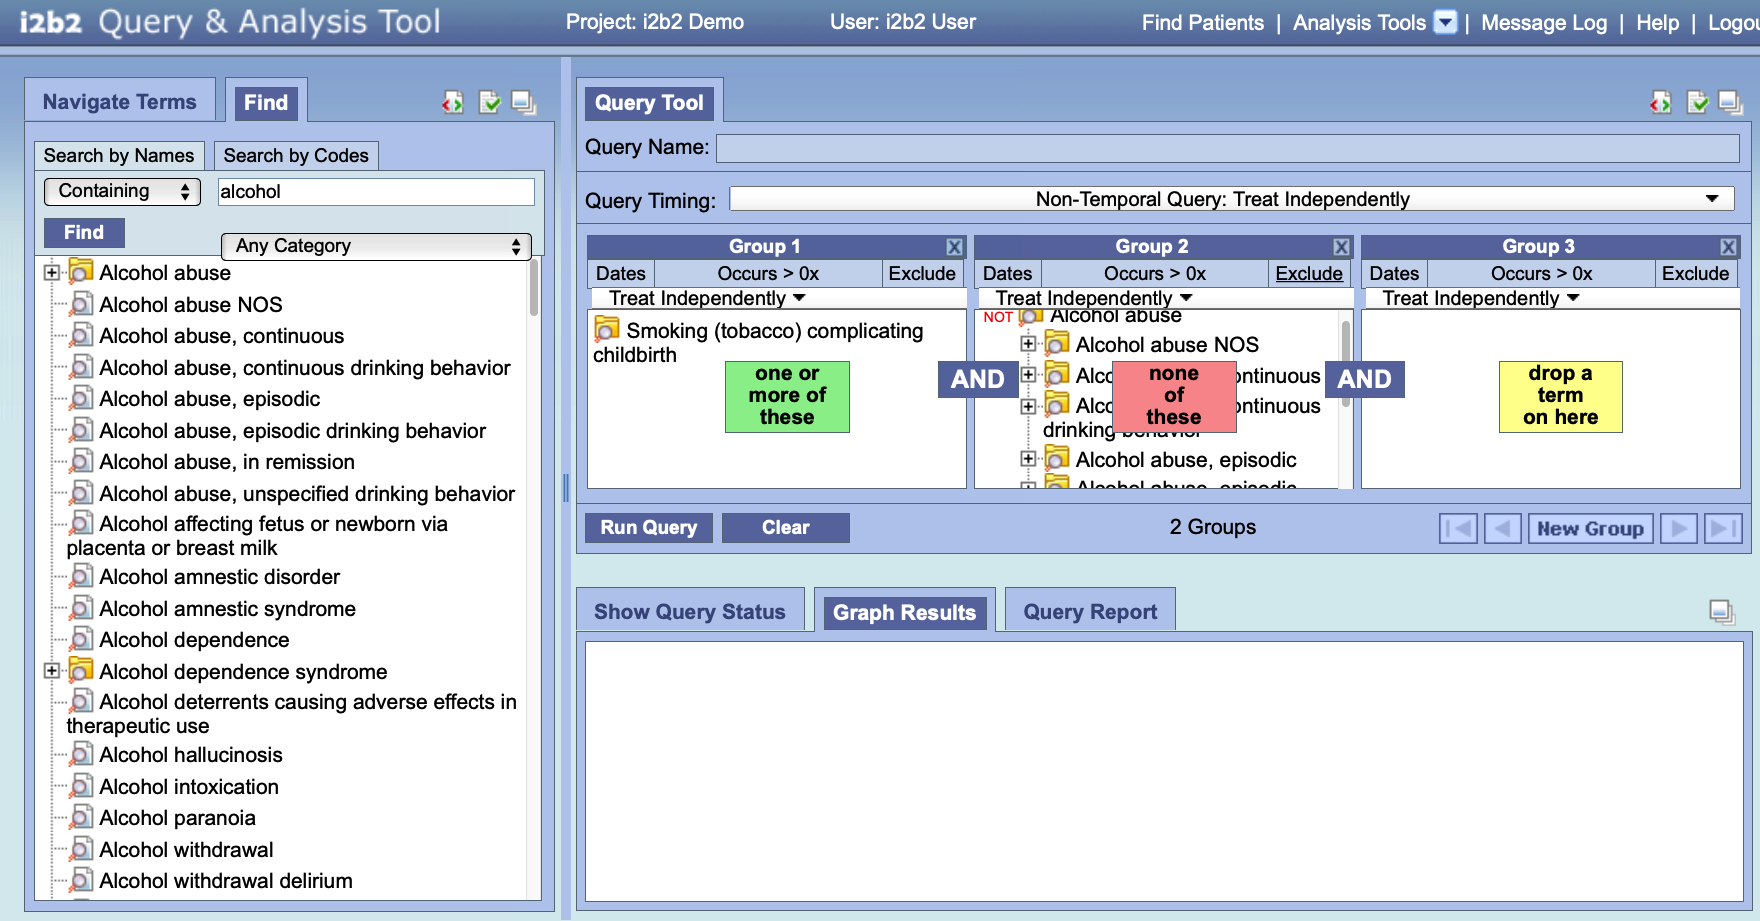
Expanding / Collapsing Views
The various panels on the i2b2 Web Client main screen can be expanded and collapsed as needed.
There is a small icon on each panel in the upper right that can be used for this:
Let us begin by starting with the normal view.
Clicking on the icon at the top of the Navigate Terms panel, expands that panel vertically to the full size of the window:
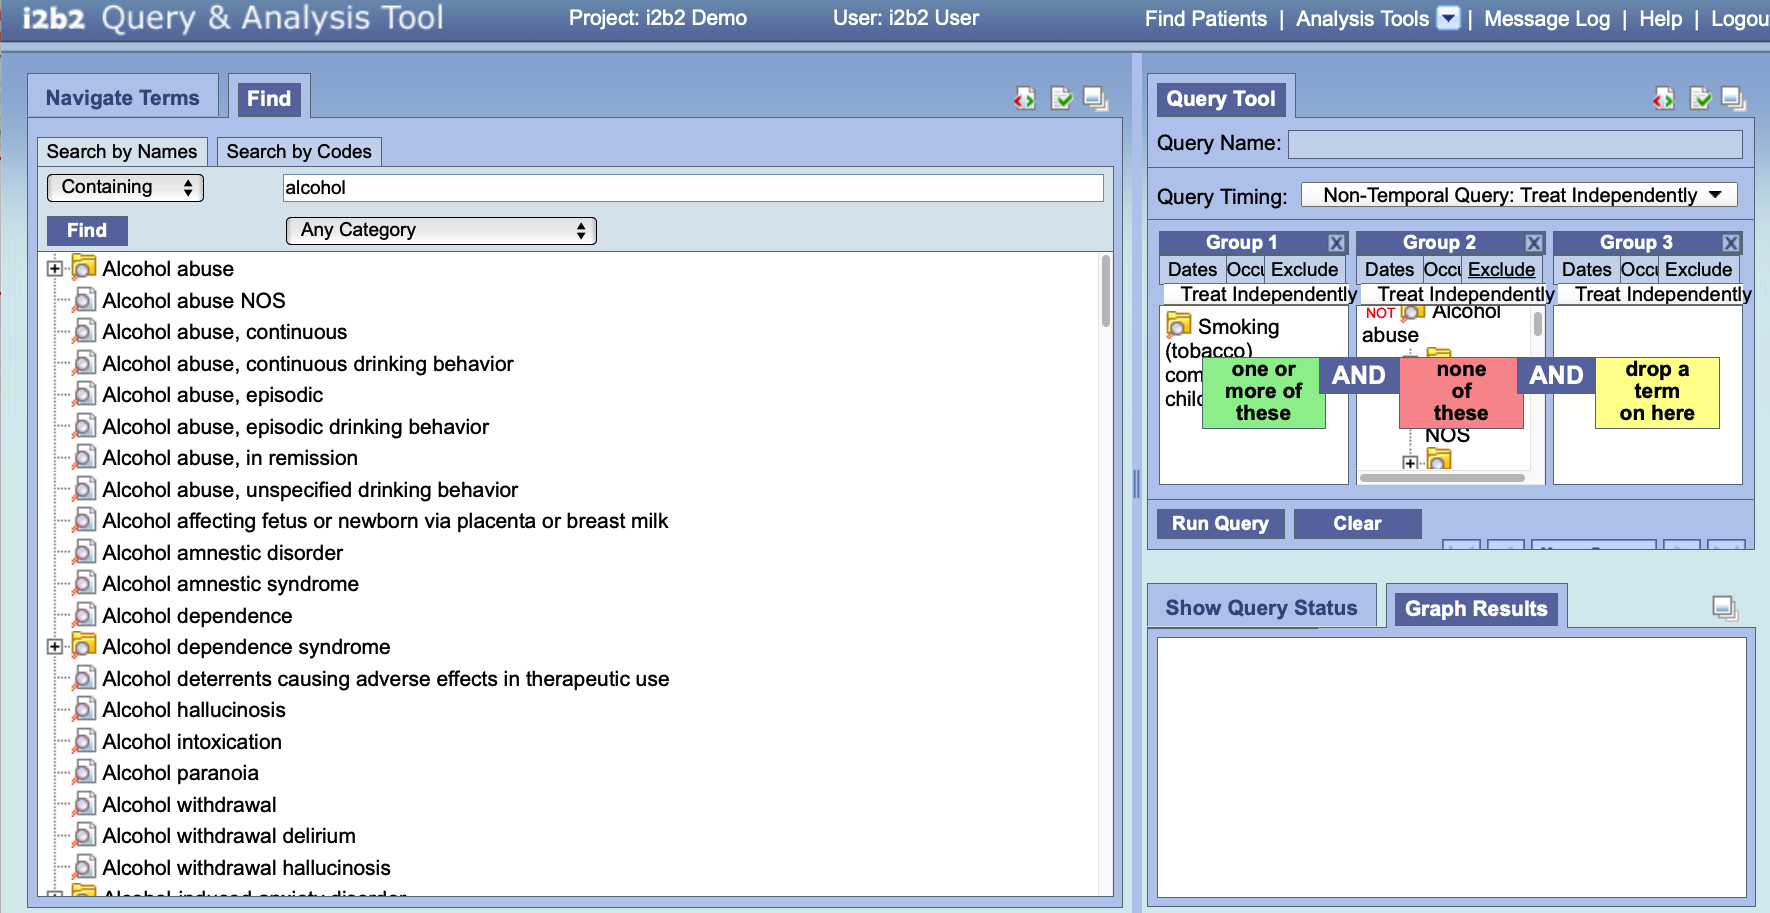
Adjusting Panel widths
To adjust the width of the left & right panels (grab the handle to drag it).
Drag the bar between the Navigate Terms panel and the Query Tool panel (half way down the screen), the Navigate Terms panel can expand horizontally:
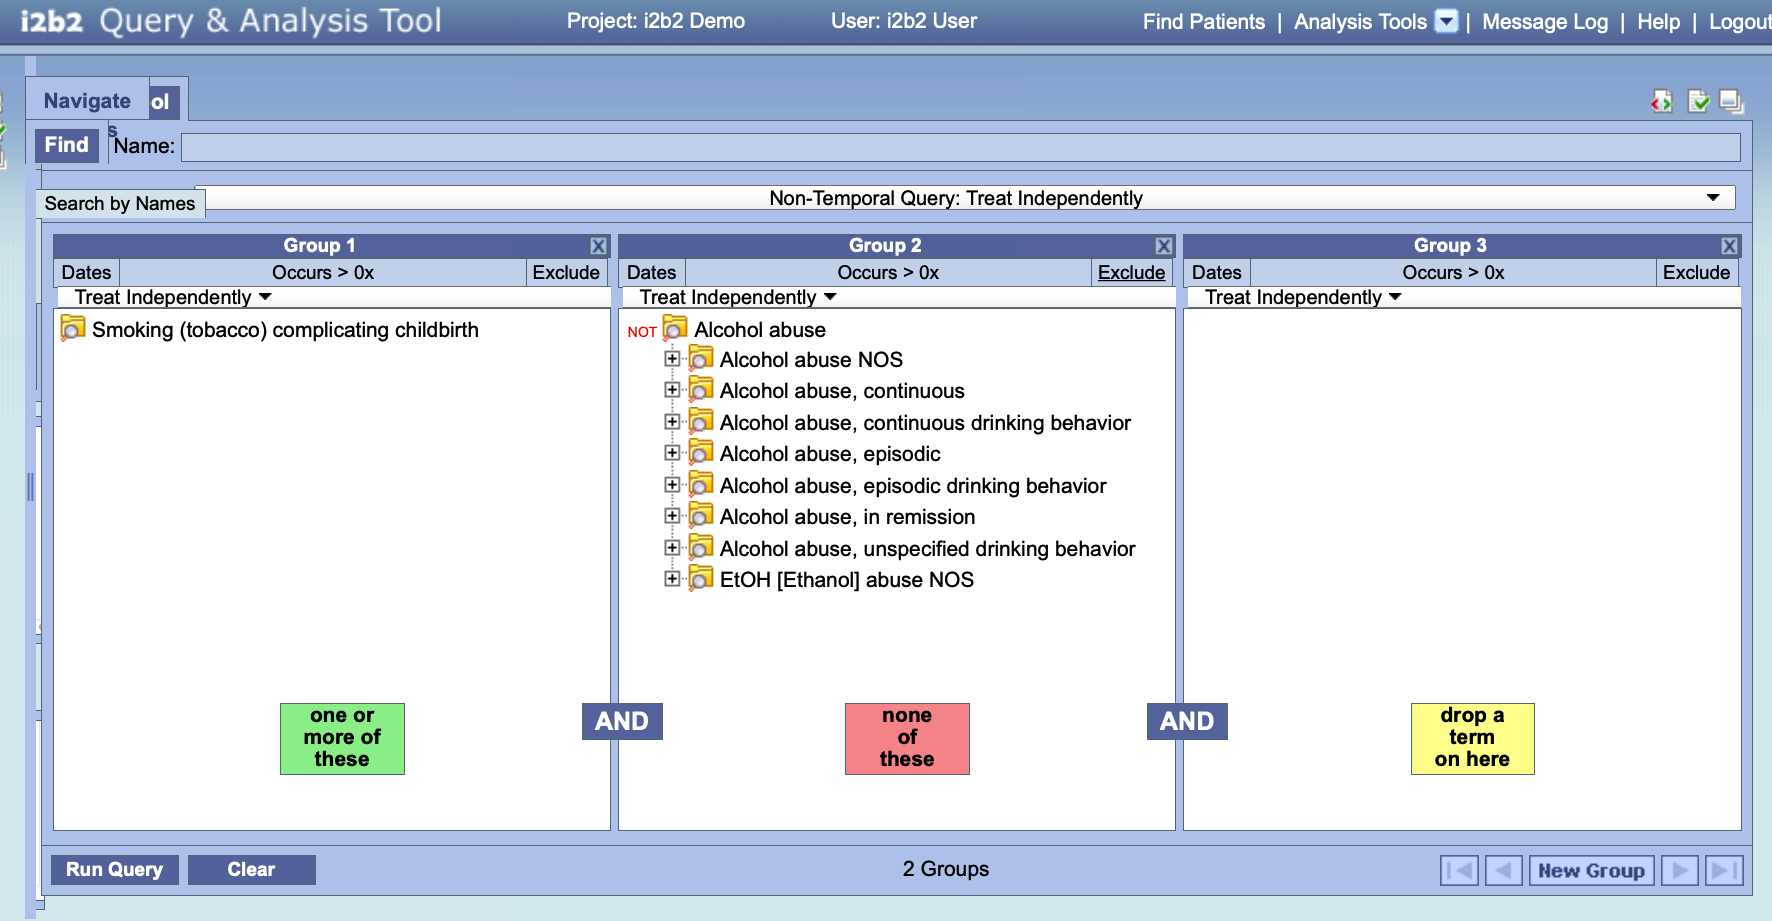
In a similar fashion, the Query Tool panel can be expanded both vertically and horizontally to be viewed in the full window:
Expand / Collapse a Folder
Depending on the search criteria, the results section may display groups of concepts which are contained in folders as well as individual concepts. The folders can be expanded to see the listing of concepts in that grouping by clicking on the plus sign () or negative sign (
) next to the folder icon.
NOTE: The ability to expand and collapse folders also extends to the modifier result section which can contain modifiers. |
Expand (Open) a Folder
Click on the plus sign (
) next to the folder in the results section of Find Terms view or the Modifier folder in the Find Modifiers section.
The folder will open and all the items in the folder will display.
Collapse (Close) a Folder
Click on the negative sign (
) next to the folder in the results section of Find Terms view or the Modifier folder in the Find Modifiers section.
The folder will close and all the items in the folder will no longer display.
Options
Users can define how many concepts to display and whether or not to show hidden terms and/or synonyms. The display options are set in the Find Terms Options dialog window, which can be accessed by clicking on the Show Options button ().

Maximum to Display
The Maximum number of children to display is used when retrieving the search results to be displayed in the results section of the Find Terms view. Once the maximum number is reached a message will appear informing you that the query has reached the maximum number of terms and suggests you try searching again with a more specific query. Running a search with a more specific query will narrow your results as the selection criteria will not be as broadly defined.

Show Hidden Terms
In the metadata table, an attribute is set to determine whether or not a term is active, inactive or hidden. If an item is marked as hidden it will not appear in the list of terms. Selecting Show Hidden Terms will display those items marked to be hidden. For easy identification, hidden terms will be red when displayed in the results list.
Show Synonymous Terms
Some terms may be flagged in the metadata table as a synonym of another term. Selecting Show Synonymous Terms will display both the original term and the synonym in the Find Terms view. For easy identification, synonymous terms will be blue when displayed in the results list.
Enable Patient Counts
The Enable patient counts option will display the total number of patients that have an observation fact entered for that item.
Use Short Tooltips
By default, the tooltip that displays when you hover over an item will contain the entire path name and the tooltip that is specific to that item. Enabling the Use short tooltips option will only display the tooltip information; the path will not be included.
Show Concept Codes in Tooltips
In addition to showing the tooltip, this option will also display the concept_cd associated to the item.
Disable Modifiers
The ability to search for modifiers will not be available if the Disable modifiers option is checked off.